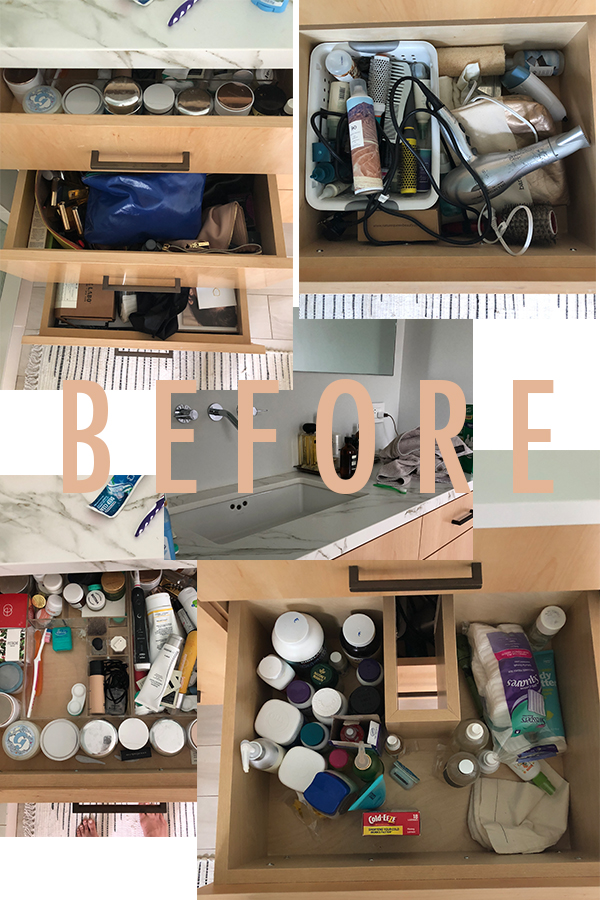
The alternative title to this post could also be “an embarrassing sneak peek into my filthy master bathroom.” While I regularly espouse an ideal way to move through life, I’m the first to admit that I often fall short of practicing what I preach. Because #reality. Case in point, my master bath. After years crammed into tiny loft spaces with even tinier bathroom, I thought I’d stepped into heaven when I finally created my dream master bathroom.
But sadly, I let the expanse of space get the best of me. Slowly but surely my dream oasis transformed into a hotbed of clutter, grit, and grime. The problem with drawers? You can hide all your problems in them! However, I’ve got the spring cleaning fever and so last week I decided to get down and dirty, dig out all the clutter, fully deep clean my vanity and return my master bath to its dream state – as nature and my design originally intended. I was so committed to this project that I even decided to make a video documenting the entire thing! Scroll down to the bottom of this post to check it out.
For those who do prefer to read, I’m also recapping my process below. I hope it inspires you to deep clean the trouble spots in your house.
Here’s the Before of my vanity. #Nojudgements
And now the after. Ahhhhh.

How do you think I did with my spring clean??
I took three very simple steps to tackle my mess and I wanted to share them with you today because this makeover is proof positive that cleaning a seemingly overwhelming mess is not only possible but oddly satisfying.
Step One: The Purge. I went through each vanity drawer and ditched anything that was old, unused or no longer wanted. Turns out I’m a bit of a hoarder! I was also ruthless about what I kept. That face mask sample I got that some Sunday night I’ll finally try? Out. Random deep conditioner for my hair that I’ve used once? Gone. The multivitamin I swore I’d start taking that’s probably three years old? Ta-ta. If I wasn’t using it on the daily or hadn’t touched it at least once in the last three months – it had to go. I won’t sugar coat it. Sorting through all my stuff did take a couple of hours, but for those of you who don’t hold onto seven year’s worth of makeup (no joke), you should be able to get through the purge stage much quicker.
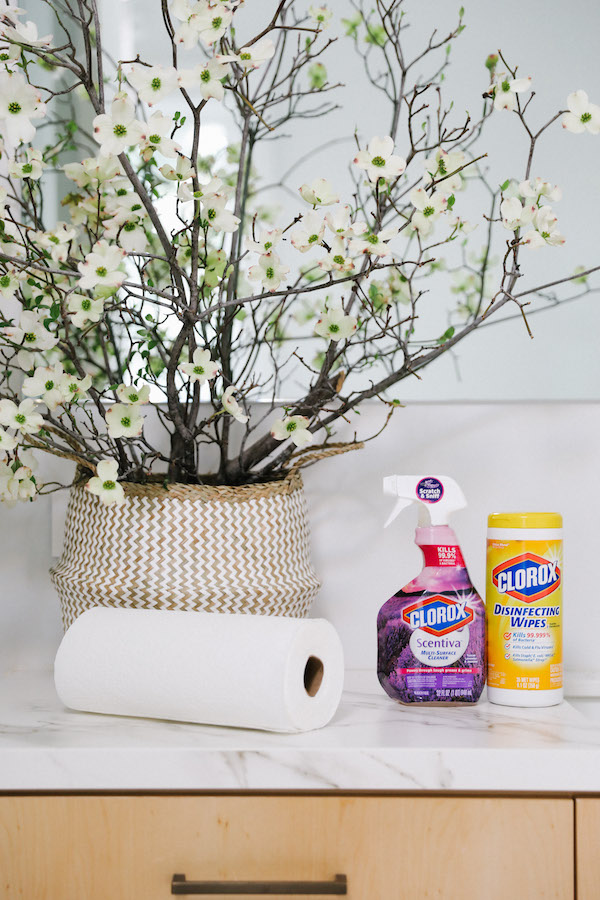
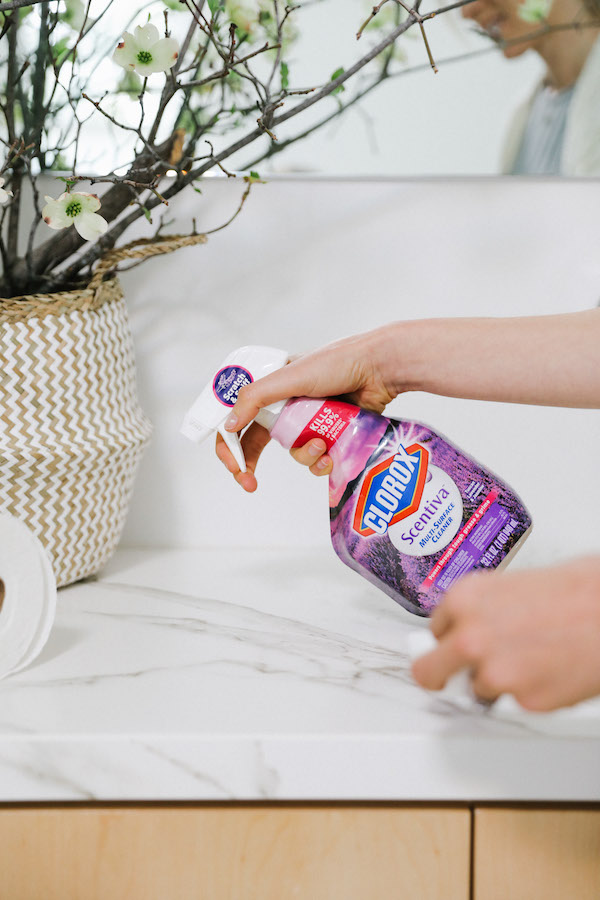
Step Two: Deep Clean. With the vanity completely empty, I got down to the task of deep cleaning. Thankfully Clorox® made it super easy with their Disinfecting Wipes. I was able to deep clean each corner and crevice, not only of my drawers but also of things like my toothbrush holder, trays and drawer organizers easily removing the unwanted germs and grime that may have been lurking there with one swipe. A thorough wipe down of the vanity’s exterior with Clorox® Scentiva Multi-Purpose Cleaner meant my counters, sink, faucet and even drawer hardware got the deep clean they desperately needed. Scentiva Multi-Purpose Cleaner has a custom-blended scent so my vanity was not only disinfected but also smelled of lavender. And this step took less than 15 minutes!
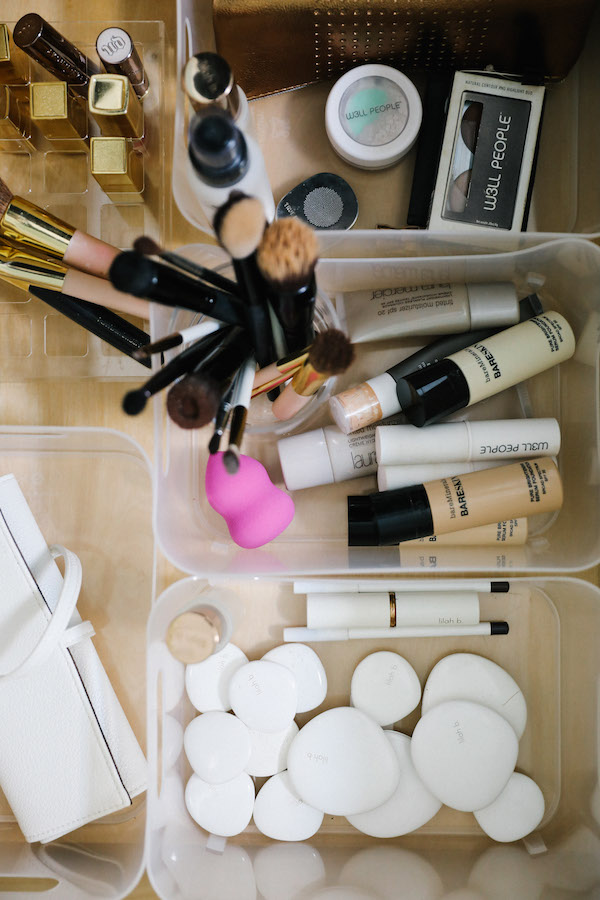
Step Three: Organize & Prioritize. This process starts with the removing of the things. Then there is the putting back of the things. Hopefully, if you’ve successfully purged, the number of things will be a lot less. I also highly recommend investing in drawer organizers. I more than quadrupled my number of bins and trays to keep makeup, skincare, hair stuff and all those other bathroom odds and ends corralled.
Then I grouped things strategically. Everything I touch each morning and evening either went into a bin in my top drawer or into a tray on my countertop (the place of pride for the pretty bath products – not where I put my stretch mark cream!). I finally organized my makeup so all my brushes were in one easy-to-access cup. My favorite products were all grouped together for quick access. And yes, I did keep a hand cream, face cream and facial mask (or three or four) but I made sure they each had a place – so I always know exactly what I have. If your bathroom is too crammed with products, you’re never going to actually use any of them. Now I know I’ve got a good moisturizing mask, a deep cleanser and an exfoliant that I can mix into my nightly routine every week.


So there you have it! I was able to make (relatively) quick work of getting my vanity back to its dream state and I’m committed to making sure it doesn’t slide back into that gross situation again. My Clorox® Disinfecting Wipes have their own spot in my vanity so I can whip them out and make sure those drawers stay clean on the regular.
Still not convinced you can do this too? Check out the video we made that breaks down how to tackle your spring deep clean (and gives you more of a tour of my bathroom!).
The Secret to a Seriously Good Deep Clean from Erin Hiemstra on Vimeo.
This post is in partnership with Clorox®. All thoughts and opinions are 100% my own. Thanks for supporting posts that have kept Apartment 34’s doors open.
original photography & video production for Apt34 by Andrea Posadas Creative
The post The Secret to a Seriously Good Deep Clean appeared first on Apartment34.
from Apartment34
No comments:
Post a Comment